More and more websites are now using a SSL access for their visitors. It’s becoming the industry standard. Using CloudFlare is an excellent compromise.
SSL certificates can be issued for a very low price. At wp2pgpmail, we were used to get our certificates at SSLs.com. Maybe you have also heard about Let’s Encrypt which delivers SSL certificates for free.
The main problem with paid certificates and free certificates by Let’s Encrypt is that they are delivered for a limited time. For the paid ones, there is a small fee every year. For the free ones, lifetime is only 90 days.
So every year, or a couple of years if you are lazy like us, you will need to reissue a new certificate for your website. If you have chosen the Let’s Encrypt solution, you will need to set up the process to replace your certificate automatically; you will have to create a special access to Let’s Encrypt to check that your website is still alive. A bit constraining…
If your website is already on CloudFlare, you will love the solution with their Origin Certificate.
The pros:
- It’s free
- It’s a wildcard certificate, that means that you can use it for any sub domain
- It can be delivered for up to 15 years!
The cons:
- All your sub domains must have the CloudFlare protection enabled
- Your data is not private related to CloudFlare
If it’s acceptable for your business, here the instructions to use this solution.
Generate your private key and the certificate request on your server
From your server, type the following command:
openssl req -nodes -newkey rsa:2048 -keyout /etc/ssl/private/example.com.key -out /tmp/example.com.csr
Country Name (2 letter code) [AU]: US
State or Province Name (full name) [Some-State]: NY
Locality Name (eg, city) []: New York
Organization Name (eg, company) [Internet Widgits Pty Ltd]:
Organizational Unit Name (eg, section) []:
Common Name (eg, YOUR name) []: *.example.com
Email Address []:
A challenge password []:
An optional company name []:
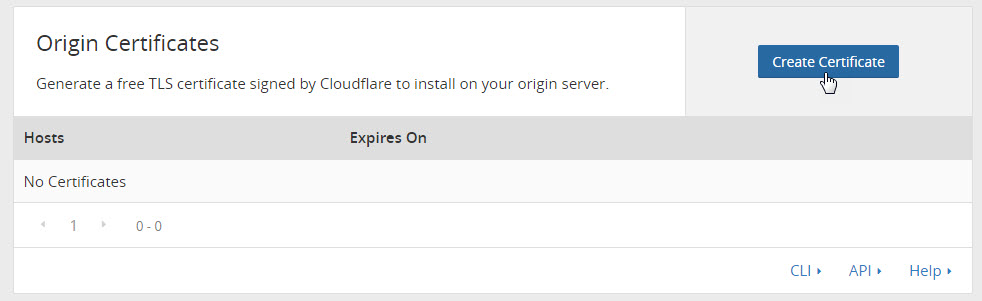
Copy your certificate request on CloudFlare and create the certificate
From the Crypto tab on your CloudFlare dashboard, click on Create Certificate:
Paste the content of /tmp/example.com.csr:

Your Origin Certificate will be automatically generated:
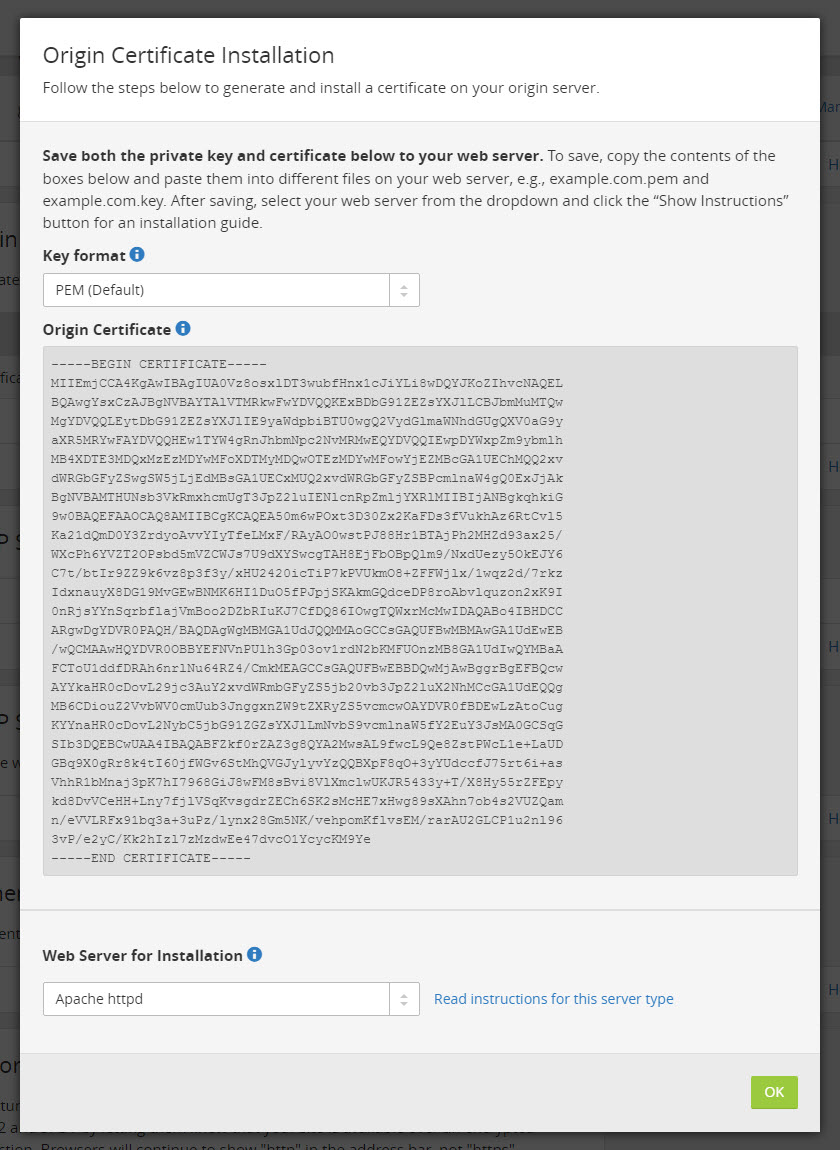
You will need to copy the content of the certificate in this new following file:
/etc/ssl/certs/example.com.pem
Your certificate is now ready to use!
Edit your Apache VirtualHost configuration
Your Apache configuration has to look like this:
<VirtualHost *:443>
        SSLEngine on
        SSLCertificateFile /etc/ssl/certs/example.com.pem
        SSLCertificateKeyFile /etc/ssl/private/example.com.key
        ServerName www.example.com
        ServerAdmin [email protected]
        DocumentRoot /var/www/example_root
        <Directory />
                Options FollowSymLinks
                AllowOverride All
                SSLRequireSSL
        </Directory>
        ErrorLog /var/log/apache2/error.log
        LogLevel warn
        LogFormat "%v %h %l %u %t \"%r\" %>s %b" comonvhost
        CustomLog /var/log/apache2/access.log comonvhost
</VirtualHost>
Then, restart your Apache server.
Hi, thanks very much for this article.
I came across your post last week and implemented the above steps on my blog but after two days of applying my flexible SSL certificate was still pending. I contacted their support and they explained the delay wasn’t from their own end.
I later came across another article on Let’s Encrypt free SSL. I implemented the steps and it was like magic.
Check my blog https://www.wiki212.com/
The let’s encrypt SSL is active though will have to renew it every 3months.
Thanks again for the great piece.